
Ready to build your first app with Swift? This beginner-friendly guide covers
Swift basics, Xcode setup, and step-by-step app building for iOS in 2026.
Start coding today!
Introduction
One million apps. That’s how many are on the Apple App Store right now
and every single iOS app started with one developer writing their first
line of Swift.
If you’ve ever wanted to build your first app with Swift, this is
your moment. Swift is Apple’s official programming language, and it’s
designed to be powerful yet beginner-friendly. Whether you dream of
building the next big productivity app or just want to learn iOS
development, this guide gives you everything you need to get started
step by step, no experience required.
What Is Swift Programming Language?
Before you write any code, it helps to understand what you’re
working with.
Swift is a modern, open-source programming language created by
Apple in 2014. It was built to replace Objective-C the older,
harder-to-read language previously used for Apple development.
Swift is used to build apps for:
- iPhone and iPad (iOS)
- Mac (macOS)
- Apple Watch (watchOS)
- Apple TV (tvOS)
Why Swift Is Perfect for Beginners
- Readable syntax code reads almost like plain English
- Safe by design built to prevent common coding errors
- Fast Swift performs close to C++, one of the fastest
languages in the world - Open source free to use, with a huge global community
- Backed by Apple regular updates, deep documentation,
and long-term support - Job demand iOS developers are among the
highest-paid in tech
If you’re serious about mobile development, learning Swift is one
of the smartest investments you can make in 2026.
Setting Up Your Environment to Build Your First App with Swift
You can’t build iOS apps without the right setup. The good news?
It’s completely free and takes about 15 minutes.
What You Need
| Requirement | Details |
|---|---|
| Mac Computer | Required Xcode only runs on macOS |
| Xcode | Apple’s free IDE download from Mac App Store |
| Apple ID | Free needed to run apps on a simulator |
| iOS Device (optional) | To test on a real iPhone or iPad |
| macOS Ventura or later | Required for latest Xcode version |
How to Install Xcode
- Open the Mac App Store
- Search for “Xcode”
- Click Get it’s free (about 12GB, so give it time)
- Once installed, open Xcode and accept the license agreement
- Install additional components when prompted
That’s it. You’re ready to build.
A Quick Tour of Xcode
Xcode is where all the magic happens. Here are the key areas:
- Navigator Panel (left) file tree and project structure
- Editor Area (center) where you write your Swift code
- Canvas / Preview (right) live preview of your UI
- Simulator (top toolbar) run your app on a virtual iPhone
- Debug Area (bottom) see errors and print statements
Swift Basics You Need Before Building Your App
You don’t need to master Swift before starting. But knowing these
fundamentals will make everything smoother.
Variables and Constants
// Variable — can change
var userName = "Alex"
userName = "Jordan"  // allowed

// Constant — cannot change
let appName = "MyFirstApp"
// appName = "Other"  // error
Use let by default. Only use var when the value will change.
This is a core Swift best practice.
Data Types
let age: Int = 25           // whole number
let price: Double = 9.99    // decimal number
let isLoggedIn: Bool = true // true or false
let greeting: String = "Hello, Swift!" // text
Swift uses type inference you often don’t need to declare
the type. Swift figures it out automatically.
Functions
func greetUser(name: String) -> String {
    return "Welcome, \(name)!"
}

let message = greetUser(name: "Sara")
print(message)  // Output: Welcome, Sara!
Functions in Swift are clean and readable. The -> arrow shows
what type the function returns.
Optionals Swift’s Superpower
var userEmail: String? = nil  // might be empty

if let email = userEmail {
    print("Email: \(email)")
} else {
    print("No email provided")
}
Optionals prevent your app from crashing when data is missing.
They’re one of the things that make Swift genuinely safe.
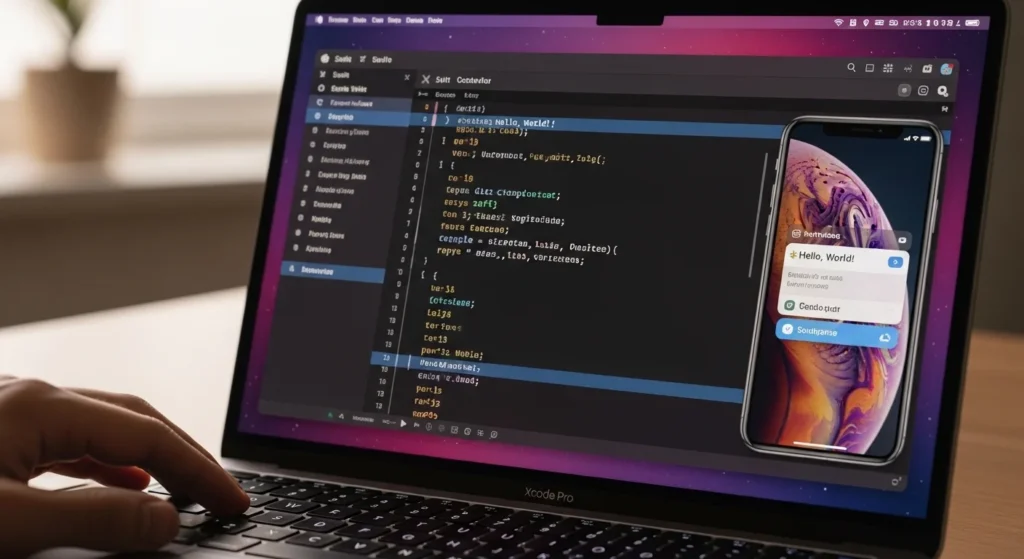
Step-by-Step: Build Your First App with Swift
Let’s build something real. We’ll create a simple Tip Calculator app it takes a bill amount and calculates the tip. It’s small,
practical, and uses real SwiftUI concepts.build your first app with Swift.
Step 1 Create a New Xcode Project
- Open Xcode → Click “Create a new Xcode project”
- Choose iOS → Select App → Click Next
- Fill in the details:
- Product Name: TipCalculator
- Interface: SwiftUI
- Language: Swift
- Choose a save location → Click Create
Your project is live. Xcode generates the starter files automatically.build your first app with Swift.
Step 2 Understanding SwiftUI
SwiftUI is Apple’s modern framework for building user interfaces.
It uses a declarative approach you describe what you want
the UI to look like, and Swift handles how to display it.build your first app with Swift.
import SwiftUI
struct ContentView: View {
var body: some View {
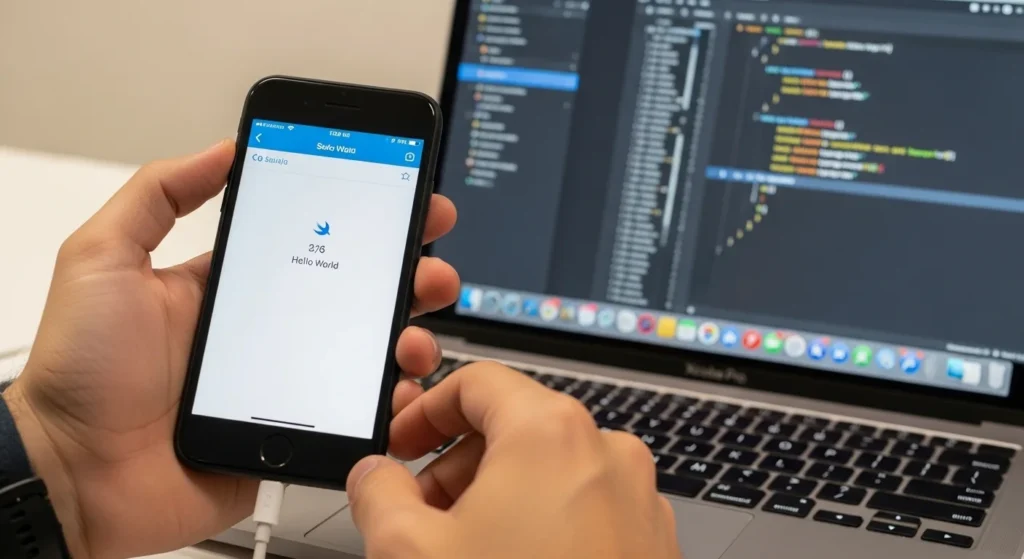
Text("Hello, World!")
.font(.title)
.foregroundColor(.blue)
.padding()
}
}This displays a blue “Hello, World!” title on screen. Notice how
readable it is that’s the beauty of SwiftUI.build your first app with Swift.
Step 3 Build the Tip Calculator UI
Replace the default ContentView.swift with this:
import SwiftUI

struct ContentView: View {
    @State private var billAmount: String = ""
    @State private var tipPercentage: Double = 15
    @State private var tipAmount: Double = 0

    var body: some View {
        NavigationView {
            VStack(spacing: 24) {

                // Bill Input
                TextField("Enter bill amount", text: $billAmount)
                    .keyboardType(.decimalPad)
                    .textFieldStyle(RoundedBorderTextFieldStyle())
                    .padding(.horizontal)

                // Tip Slider
                VStack {
                    Text("Tip: \(Int(tipPercentage))%")
                        .font(.headline)
                    Slider(value: $tipPercentage,
                           in: 0...30, step: 1)
                        .padding(.horizontal)
                }

                // Calculate Button
                Button("Calculate Tip") {
                    calculateTip()
                }
                .buttonStyle(.borderedProminent)
                .tint(.green)

                // Result
                if tipAmount > 0 {
                    Text("Tip Amount: $\(tipAmount, specifier: "%.2f")")
                        .font(.title2)
                        .bold()
                        .foregroundColor(.green)
                }

                Spacer()
            }
            .navigationTitle("Tip Calculator")
            .padding(.top)
        }
    }

    func calculateTip() {
        if let bill = Double(billAmount) {
            tipAmount = bill * (tipPercentage / 100)
        }
    }
}
What this code does:
@Statestores values that update the UI automaticallyTextFieldlets users type the bill amountSliderlets users pick a tip percentage (0–30%)Buttontriggers the tip calculationcalculateTip()the math function
Step 4 Run Your App in the Simulator
- Choose a simulator device from the top toolbar
(e.g., iPhone 16 Pro) - Press ⌘ + R or click the Play button
- Wait for the simulator to launch
- Type a bill amount → Move the slider → Tap Calculate
You just built and ran your first Swift app. That’s a huge milestone.build your first app with Swift.
Step 5 Test on a Real iPhone (Optional)
To test on your actual device:
- Connect your iPhone via USB
- Select your device in the Xcode toolbar
- Go to Signing & Capabilities → add your Apple ID
- Press ⌘ + R to build and install
Your app will appear on your iPhone’s home screen. Show it to
everyone you earned it.build your first app with Swift.
SwiftUI vs UIKit Which Should Beginners Use?
This is the most common question new iOS developers ask.build your first app with Swift.
| Feature | SwiftUI | UIKit |
|---|---|---|
| Released | 2019 | 2008 |
| Syntax Style | Declarative | Imperative |
| Learning Curve | Lower | Higher |
| Live Preview | Yes | No |
| Job Market | Growing fast | Still very relevant |
| Apple’s Direction | Future of iOS dev | Legacy but supported |
Short answer for beginners: Start with SwiftUI. It’s modern,
easier to read, and Apple is building everything new around it.build your first app with Swift.
You can always learn UIKit later and many jobs still use it
but SwiftUI will get you building real things much faster.build your first app with Swift.
What to Build Next After Your First Swift App
Finished the tip calculator? Here are great next project ideas
that level up your skills one step at a time:
Beginner Projects
- To-Do List App learn data persistence with
@AppStorage - Quiz App practice arrays, loops, and state management
- Pomodoro Timer work with timers and notifications
Intermediate Projects
- Weather App learn API calls with
URLSession - News Reader parse JSON data from a real news API
- Chat UI Clone recreate a messaging interface with SwiftUI
Advanced Projects
- E-commerce App full CRUD with CoreData or Firebase
- Map App use MapKit and user location
- AI-powered App integrate OpenAI or Apple’s
on-device ML models
Each project teaches you something new. The best developers
didn’t study theory they built things.build your first app with Swift.

Best Free Resources to Learn Swift in 2026
You don’t need to pay for a course to get started. These are
the best free resources available:
- Apple’s Swift Playgrounds Interactive iPad/Mac app
for learning Swift visually - Swift.org Official documentation and language guides
- 100 Days of SwiftUI (Hacking with Swift) The most
popular free Swift course online - Sean Allen on YouTube Beginner-friendly iOS tutorials
- Swift Playgrounds App Learn by completing fun puzzles
on iPad
Internal Linking Suggestions
Add these internal links naturally to boost your site’s SEO
and keep readers engaged longer:
- “SwiftUI Tutorial: Build a Weather App from Scratch”
→ Link from the “What to Build Next” section near Weather App - “Xcode Tips and Shortcuts Every iOS Developer Should Know”
→ Link from the Xcode setup section near the interface tour - “Swift vs Kotlin: Which Language Should You Learn First?”
→ Link from the introduction or the “What is Swift” section
Conclusion
Building your first app with Swift is one of the most rewarding
experiences in software development. You go from an idea to
something you can hold in your hand and use in the real world.build your first app with Swift.
Here’s what you covered in this guide:
- What Swift is and why it’s worth learning in 2026
- How to set up Xcode on your Mac for free
- Core Swift syntax: variables, functions, and optionals
- How to build a real Tip Calculator app with SwiftUI
- How to run it in the simulator and on a real iPhone
- What to build next to keep growing
The App Store has made millionaires out of indie developers
with just one great idea. Your journey starts with one small
app and you just built it.build your first app with Swift.
Open Xcode today. Write your first line of Swift. The next great iOS app could start right now with you.
Frequently Asked Questions (FAQs)
What is Swift programming language used for?
Swift is Apple’s official programming language, used to build apps
for iPhone (iOS), Mac (macOS), Apple Watch (watchOS), and Apple TV
(tvOS). It’s also used for server-side development with frameworks
like Vapor.build your first app with Swift.
Do I need a Mac to build apps with Swift?
Yes Xcode only runs on macOS, so a Mac is required for
building and submitting iOS apps. However, you can learn Swift
syntax using Swift Playgrounds on iPad or the online
Swift Playgrounds browser tool at swift.org.build your first app with Swift.
Is Swift hard to learn for beginners?
Swift is considered one of the easier languages for beginners
compared to Java or C++. Its clean syntax, safety features, and
Apple’s free interactive learning tools make it very approachable.
Most beginners can build a simple app within their first week.
Is SwiftUI or UIKit better for my first app?
SwiftUI is the better choice for beginners in 2026. It has a
lower learning curve, supports live previews in Xcode, and is
Apple’s direction for future iOS development. UIKit is still
important for jobs, but SwiftUI will get you building faster.build your first app with Swift.
How long does it take to build your first Swift app?
With this guide, you can build and run your first Swift app in
2 to 4 hours. Building a polished, App Store-ready app
typically takes weeks to months depending on complexity
but you’ll be surprised how quickly you progress once you start.